Motorola Moto E4 Plus | FRP Bypass Guide
Fastboot commands used for this frp bypassing
fastboot oem device info
fastboot oem check-image
fastboot oem lock-state info
fastboot oem hwdog certify begin
fastboot oem get-bootinfo
fastboot oem check-rootinfo
fastboot oem relock
fastboot oem hwdog certify set
fastboot oem frp-erase
fastboot oem frp-unlock
fastboot oem emmc_diag
fastboot oem emmc-dump
fastboot oem get_key_version
fastboot oem battery_present_check
fastboot oem get_hwnff_ver
fastboot oem get-psid
fastboot oem get-product-model
fastboot oem get-build-number
fastboot oem reboot_boot_dump
fastboot oem device info
fastboot oem get_bootFail_info
fastboot oem oeminforead
fastboot oem getencryptsn
fastboot oem getencryptudid
fastboot erase system
- Press the volume up button and power button simultaneously to enter recovery mode. From there, select the options to wipe and reset cache or perform a factory reset.
- Once the reset is complete, reboot your device and wait until you see the welcome screen.
- Proceed with the setup by connecting to a Wi-Fi network. Once connected, go back to the welcome screen (first page).
- Tap two fingers on the screen until you hear a girl's voice, and continue holding two fingers until she says "TalkBack is on."
- Now, draw an L on your screen to bring up the TalkBack settings.
- Scroll down with two fingers until you reach the bottom, where you can see "Help & Feedback."
- Double-press on "About Switch Access for Android."
- Press the volume up button and volume down button simultaneously to turn off the TalkBack settings.
- You will now see a YouTube video. Tap at the top of the video to reveal three dots in the upper-right corner.
- Tap on "Watch later," and Google Chrome will launch.
- Unblock any help prompts and press "Accept and Continue." On the next window, simply press "No Thanks."
- Browse to apkmirror to download QuickShortcutMaker.
- Press on "Update Permissions," followed by allowing Chrome to access photos.
- Wait for q.apk to finish downloading, then press "Open" at the bottom and select "Settings" next.
- Scroll down to "Unknown Sources" in the Security window and enable it.
- Above "Unknown Sources," you will see "Device Administrators." Press on it.
- Disable "Android Device Manager" to obtain admin rights.
- Go back to the download history or download q.apk again from nr1.nu to install QuickShortcutMaker.
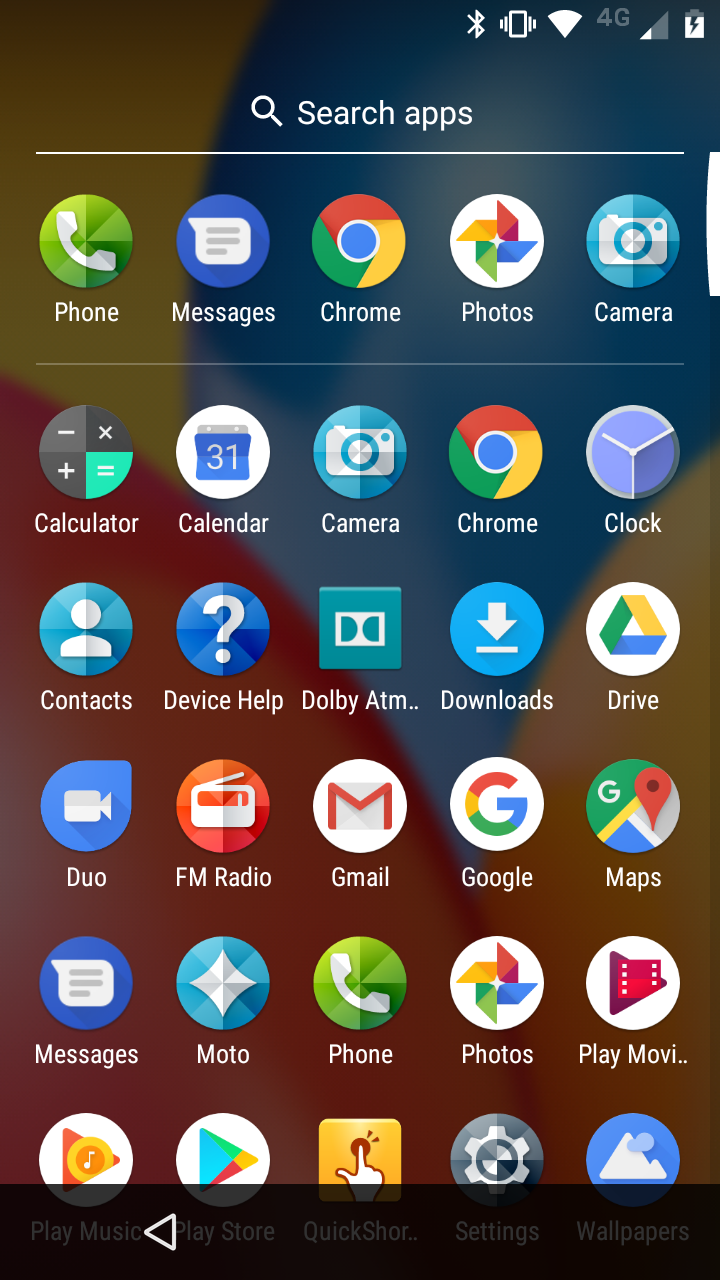
- Once installed, press "Open." In QuickShortcutMaker, scroll down to "Moto App Launcher."
- Press on "Moto App Launcher" to launch it and access Motorola's default system UI for easier navigation.
- Now, open Settings and select "Apps." Press the three dots in the upper-right corner and choose "Show System Apps." Find "Google Account Manager" and "Google Play Services" and disable both.
- Go back to the system UI by tapping the back button several times. Open Google Chrome and download https://nr1.nu/motorola/apk-files/remote_1.apk. Install the application and select "Done" when finished.
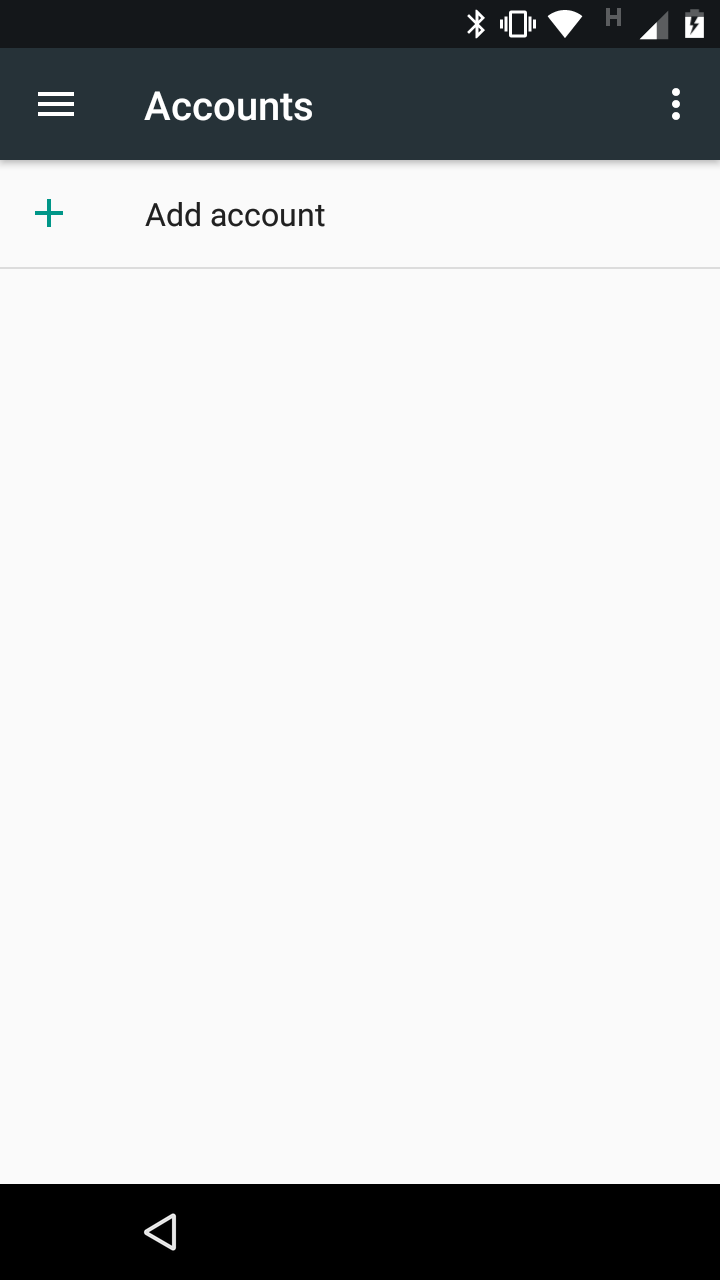
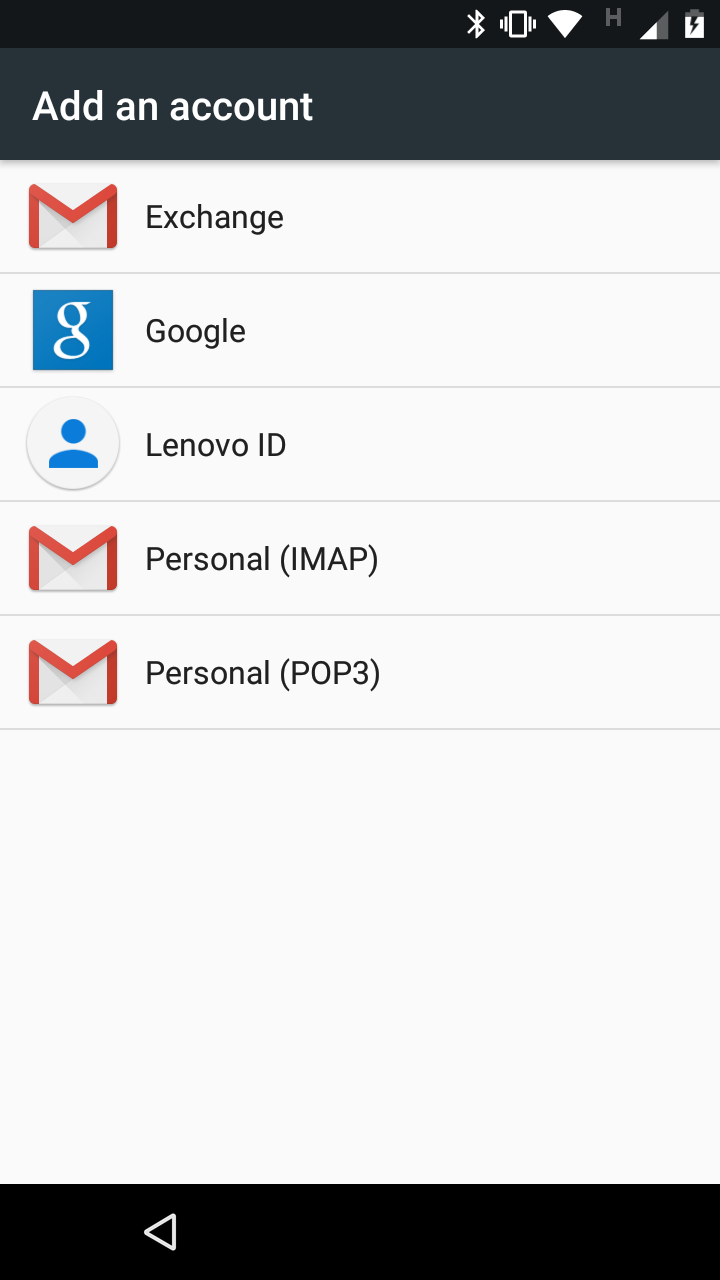
- Return to the main screen, open Settings, and find "Accounts." Add your Google account.
- Go back to Settings, select "Apps" again, and tap the three dots in the upper-right corner.
- Enable "Google Account Manager" and "Google Play Services" again. Finally, reboot your device as you normally would.
Enjoy the full potential of your unlocked Motorola E4 Plus device. If you have any further questions or need assistance, feel free to get in touch
ROOT YOUR MOTO E4 PLUS (Using TWRP for non-PLUS model)
Follow the instructions below to root your Moto E4 Plus:
- Enable USB Debugging Mode and OEM Unlock on your mobile device.
- If your device is turned on, type "adb reboot recovery" in the command prompt or terminal. When you see the dead Android logo, press the power button and volume up button simultaneously to enter recovery mode.
- Download the following files:
- TWRP: twrp-3.2.3-1-nicklaus.img
- fstab.qcom.zip: Download Link
- Connect your device to the computer and enter "fastboot mode." You can check if your device is recognized by typing "fastboot devices" in the command prompt or terminal.
- You have the option to change the mode by typing "fastboot oem lock-state info." However, for the rooting process, it's recommended to stay in fastboot mode, so this step is not required.
- Now, type "fastboot oem unlock" and press the volume down button to unlock the bootloader.
- Your bootloader should now be unlocked. To boot into TWRP, select the "Recovery" option from the fastboot menu.
- In TWRP, use the "adb sideload" command to flash your device. On your computer, type "adb sideload Magisk...zip" (replace "...zip" with the actual file name).
- Wait for the flashing process to complete.
- Reboot your device, and it should now be rooted.
Please note that rooting your device can void your warranty and may have risks associated with it. Make sure to carefully follow the instructions and understand the potential consequences before proceeding.
Previews - Step By Step


Greetings
To all my friends that letting me play with their devices, you know who you are!
Contact
Mail: wuseman
Website
Visit my websites and profiles for the latest information and updated tools:
- GitHub: https://github.com/wuseman/
- Personal website: [https://www.nr1.nu)(https://nr1.nu)